The Great British Blog Off: St. Clement's Orange and Lemon Drizzle Cake
Welcome to Week 3, bakers! Er... readers! l
If you're new here and need to catch up, you can find the introduction to this project here, and catch up on Week 1 and Week 2 at the respective hyperlinks.
Cake time marches on, this time moving away from the loaf and into the territory of springform pans, stacking, and curd! Join me on the exciting adventure of continuing to zest the everloving daylights out of more lemons than I ever dreamed.
This week's recipe: St. Clement's Orange and Lemon Drizzle Cake

The Prep
Looking over this recipe after last week's loaf, I was equal parts excited and terrified for the dramatic uptick in difficulty. Pouring batter into a loaf tin isn't particularly challenging when you've done it plenty of times before, but this week's cake boasts several new techniques and tools.
The list of ingredients is also decidedly heftier, so I decided to take a separate shopping trip later in the week to avoid asking Andy to add 8 lemons and 4 oranges onto our usual weekly shop. Plus, at this point in the pandemic, I can't complain about an excuse to leave the house for a bit and visit my absolute favorite grocery, The Fresh Market.
So, on Wednesday I double-checked the math on how many lemons and oranges I'd need to produce the required amount of juice, peel, and zest, and headed off to Fresh Market. I expect I'm not the first person to ever march over to the lemon display and start systematically swiping all the lemons, but it was certainly my first foray into 8 lemon purchasing territory and it felt... well, slightly absurd.
My cart loaded with citrus, I wandered off in search of more flour and sugar, as well as the largest crate of eggs I could find. In addition to the lemons, this recipe requires a total of 14 eggs.

After a disastrous assumption that self-rising flour and all purpose flour were "probably the same thing" over the summer when attempting Victoria Sponge cake, I scribbled down the ratio of AP to baking powder required to produce self-rising flour in the margins of the recipe. It did not occur to me that we might have self-rising flour in the USA, since I'd never seen it. But the entire shelf of flour options available at Fresh Market produced thrilling results--a bag of King Arthur Self Rising Flour! Ecstatic, I added it to my cart, seized an 18-count package of eggs, and headed to the register.
From there, I had to wait only three agonizing days for the workweek to end and bake time to begin!
The Bake
I read this recipe over about three or four times before even thinking about getting started. Eager though I was for a challenge after two relatively simple weeks prior, the words "orange curd" and "candied peel" struck fear into my heart.
Once I had all but memorized the recipe, there was no choice but to begin. I pulled out the springform tins I'd purchased earlier and set to work brushing them with butter and tracing parchment paper to line the bottoms. It is crazy to me that most cake recipes in the US don't explain this technique for prepping your baking equipment. If nothing else comes from this challenge, I have at least forever changed how I grease baking pans. Because, yes, I was rubbing them with solid butter rather than melting and brushing. Oh, what a difference!
I'll admit that putting nearly four sticks of butter and equal parts of sugar into a bowl felt vaguely terrifying, as diet culture bred villainization flicked through my mind. I've made cakes before, but typically from a boxed mix, which doesn't have quite the same drama to it as creaming butter and sugar.
My trusty handheld mixer and I went to work. Once upon a former life, I dreamed of having a stand mixer like those that grace each bench in the tent, but I have since become attached to my Tiffany blue handheld KitchenAid mixer and can't dream of replacing it.
Slowly but surely, I then added EIGHT ENTIRE EGGS to the mixture. I have never cracked so many eggs at once, and that wasn't even the end of it. The shells stacked up on the countertop, destined for the compost.
Adding in the flour was a bit of a cause for alarm, as the batter came out quite a bit thicker than I would have anticipated. Given the flat pucks that my Victoria sponges had become, I did not feel optimistic as I spread the thick goop into the prepared tins and put them into the oven to bake. Thankfully, a quick peek shortly after revealed that these cakes were indeed on the rise.
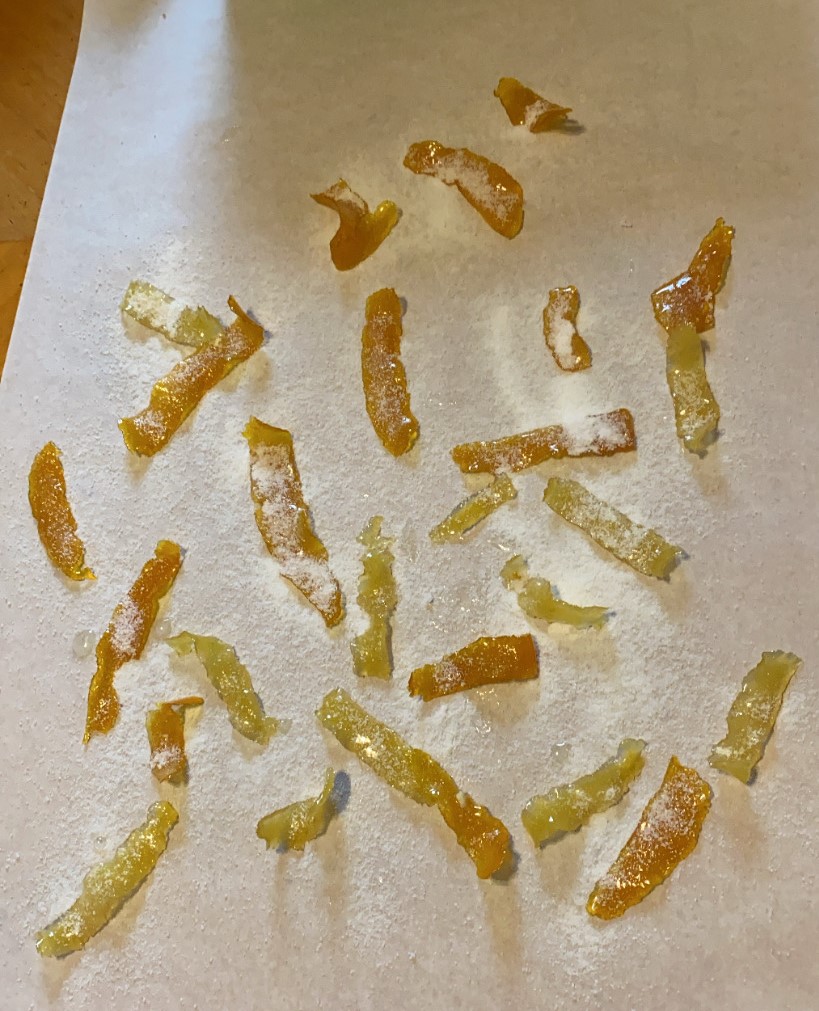
This recipe in all took me about 6 hours, and there was no downtime to speak of during the first four or so. While the sponges baked, I had two tasks to complete: make the candied peels and the lemon drizzle syrup. This would require me to slice off orange and lemon peel with a vegetable peeler (bit trickier than it sounds) and juice a total of 6 lemons.
Candying the peels, thankfully, turned out to sound scarier than it was. You basically just simmer the peels in water until they're soft, then simmer them for longer in a water and sugar mixture. It was easy enough to accomplish the juicing of multiple lemons while that was happening, while also keeping an eye on the steadily rising cakes.
35 minutes goes by fast when you're busy with other tasks, and the cakes were out of the oven in a flash. The recipe instructs that you should immediately turn them out and poke holes in them to spoon on the drizzle.
Clipping off the little ring on the pans was incredibly satisfying, but then I had to figure out how to tip out the cake without it falling to bits while still wearing oven mitts due to the hot tin. I realized I've never paid enough attention to this bit when watching GBBO. Do they let it cool enough to touch? The instructions didn't say so. So, I clumsily popped them out in my oven mitts and then peeled the parchment paper off with my bare hands.
Miraculously, I didn't break either cake and only a tiny bit stuck to the paper. I'd been uncertain if both cakes would fit on my relatively small cooling rack, and was just able to squeeze both of them on without fearing for total cake collapse. It did quickly become apparent that the cakes were heavy enough that the tops would end up with a nice latticework pattern courtesy of the drying rack, but given that they'd be covered up, I figured that wasn't such a big deal.

With the cakes drizzled and cooling and the peels candied, it was time to turn my attention to the dreaded moment: orange curd. I've never produced anything resembling orange curd in my life, so, like the candied peels, I didn't really know what to expect. It's generally custard that the bakers struggle to get set firm enough, but in my mind, visions of many a collapsed custard disaster danced in my mind.
First, I cracked 6 more eggs, separating out the yolks using the shells, because I can't be bothered with things like egg separators. Then, I zested and juiced three more oranges and an additional lemon, pouring the juice in together with the eggs and sugar. From there, the instructions were to stir it constantly while bringing to a simmer. That only took, like... three years or so?
Once the curd set to simmering at long last (after a few impatient upticks in the heat of the pan), I had to keep stirring it until it became "thick enough to coat the back of a spoon." Having next to no idea what that meant, I simply stirred on until it seemed to thicken and had been simmering about as long as the book said the whole spoon-coating thing was supposed to take. It did seem to stick nicely to the spoon, which I figured worked well enough.
At last, some downtime while the curd chilled out in the fridge. Andy came in to ask when he would have cake, and I told him it would be at least another hour or more, since the curd had to cool and firm up before I could assemble the cake.
I had a bit of lunch, journaled, and did some impatient pacing around the house until pulling out my new and exciting spinning cake stand on which to assemble the cakes. The next nerve-wracking bit was lifting the cakes from the cooling rack and up onto the stand for assembly. They were heavy and soaked with drizzle, but I did manage to plop the first one on without breaking it. Then, the fun part: spinning the cake around on the stand while spreading the orange curd overtop it.
 |
Another terrifying transfer of cake from rack to settle it gently atop the curd, and we were in business. My icing was a bit thick and didn't naturally flow to the edges like the recipe suggested, but I preferred that to having it all slide off like week one's lemon loaf. Finally, I threw a nest of candied peels on top, snapped a quick ta-dah photo for fear that the curd would all seep out from the weight of the sponge layer atop it.

There was some seepage, but only mild and, I noted, no more than pictured in the recipe book photo. My cakes never turn out quite as neat as recipe photos, but in all, it still came out recognizably the same thing, which I'll take as a victory. Plus, it tastes pretty good, too!
The whole "sugar plus juice from citrus fruit equals icing" thing that these recipes have got going on is not my favorite, but other than that, I have to say it's a downright delicious cake. I would probably modify the icing if I ever decided to make this again, and would likely only do upon request or boredom due to the fact that it took the better part of the day. Still, what else is there to do with a Saturday in these times?

Now I'm off to figure out who in the heck is going to accept some cake delivery so Andy and I don't have to eat an entire cake on our own!
P.S. did you know I do Instagram story live updates during my bakes? You can follow along on Saturdays on my stories, and check out prior bakes in my British Blog Off highlights!


That looks amazing!
ReplyDeleteThank you!
Delete